If you’ve stumbled upon the phrase “drawing: a4z_-ymtkr8= cat” and are curious about what it means, you’re in for a treat.
As someone with experience in this unique drawing technique, I’m here to share everything you need to know to master it. Whether you’re a seasoned artist or just getting started, this guide will help you bring your feline illustrations to life.
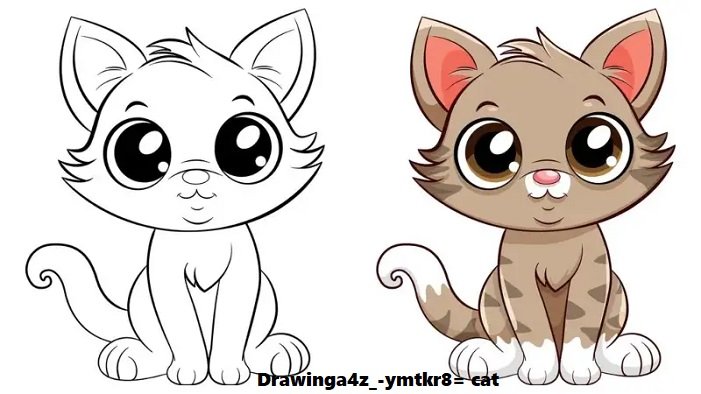
What is the “A4Z_-YMTKR8= Cat” Drawing?
The “A4Z_-YMTKR8= cat” might sound like a random jumble of characters, but it’s actually a methodical approach to drawing cats.
This technique focuses on combining structured outlines, detailed shading, and a touch of creativity to create lifelike cat illustrations that stand out.
Essential Tools for Drawing the “A4Z_-YMTKR8= Cat”
Before we dive into the drawing process, make sure you have these materials ready:
- A4 Drawing Paper: Provides the perfect canvas size for detailed work.
- Graphite Pencils (HB, 2B, 4B): Ideal for sketching, shading, and adding depth.
- Eraser: To clean up lines and refine details.
- Blending Stump: To smooth out shading and create a polished look.
How to Draw the A4Z_-YMTKR8= Cat: A Step-by-Step Breakdown
- Start with a Light Outline Begin by sketching the basic shape of the cat. Focus on getting the proportions right—head, body, legs, and tail should all be in harmony. Keep your lines light and loose, as this is just the foundation.
- Draw the Cat’s Face Once you have the basic outline, move on to the facial features. The eyes are the focal point of the drawing, so take your time to make them expressive and lively. Use your HB pencil for clean, precise lines.
- Add Texture and Fur With your 2B pencil, start adding fur texture. Use short, controlled strokes to create the appearance of fur, paying attention to the direction it naturally flows. Layer these strokes to build up depth and dimension.
- Apply Shading for Realism To make your cat drawing pop, use your 4B pencil to add shading. Focus on areas where shadows naturally fall, like under the chin and around the eyes. Use the blending stump to smooth out transitions and create a realistic gradient.
- Finalize the Details The last step is all about refining your drawing. Deepen shadows, sharpen the lines around the eyes, and add whiskers with delicate strokes. The details will make your cat look polished and lifelike.
Why You Should Try the “A4Z_-YMTKR8= Cat” Technique
This drawing technique is not just a random code—it’s a method that helps you achieve a balanced mix of technical precision and artistic expression.
Whether you’re aiming for a realistic or stylized look, mastering this approach will take your cat drawings to the next level.
Read More:
Why Michael Sartain’s MOA Course Is the Ultimate Game-Changer for Men: My Honest Review
Conclusion
The “A4Z_-YMTKR8= cat” drawing technique is easier than it sounds, and with practice, you can master it in no time. Grab your tools, follow these steps, and soon you’ll be creating stunning cat illustrations that capture the essence of these graceful creatures.
With my experience in this technique, I can confidently say that once you start, you’ll be hooked. The results are worth the effort, and your cat drawings will never be the same. Happy drawing!